


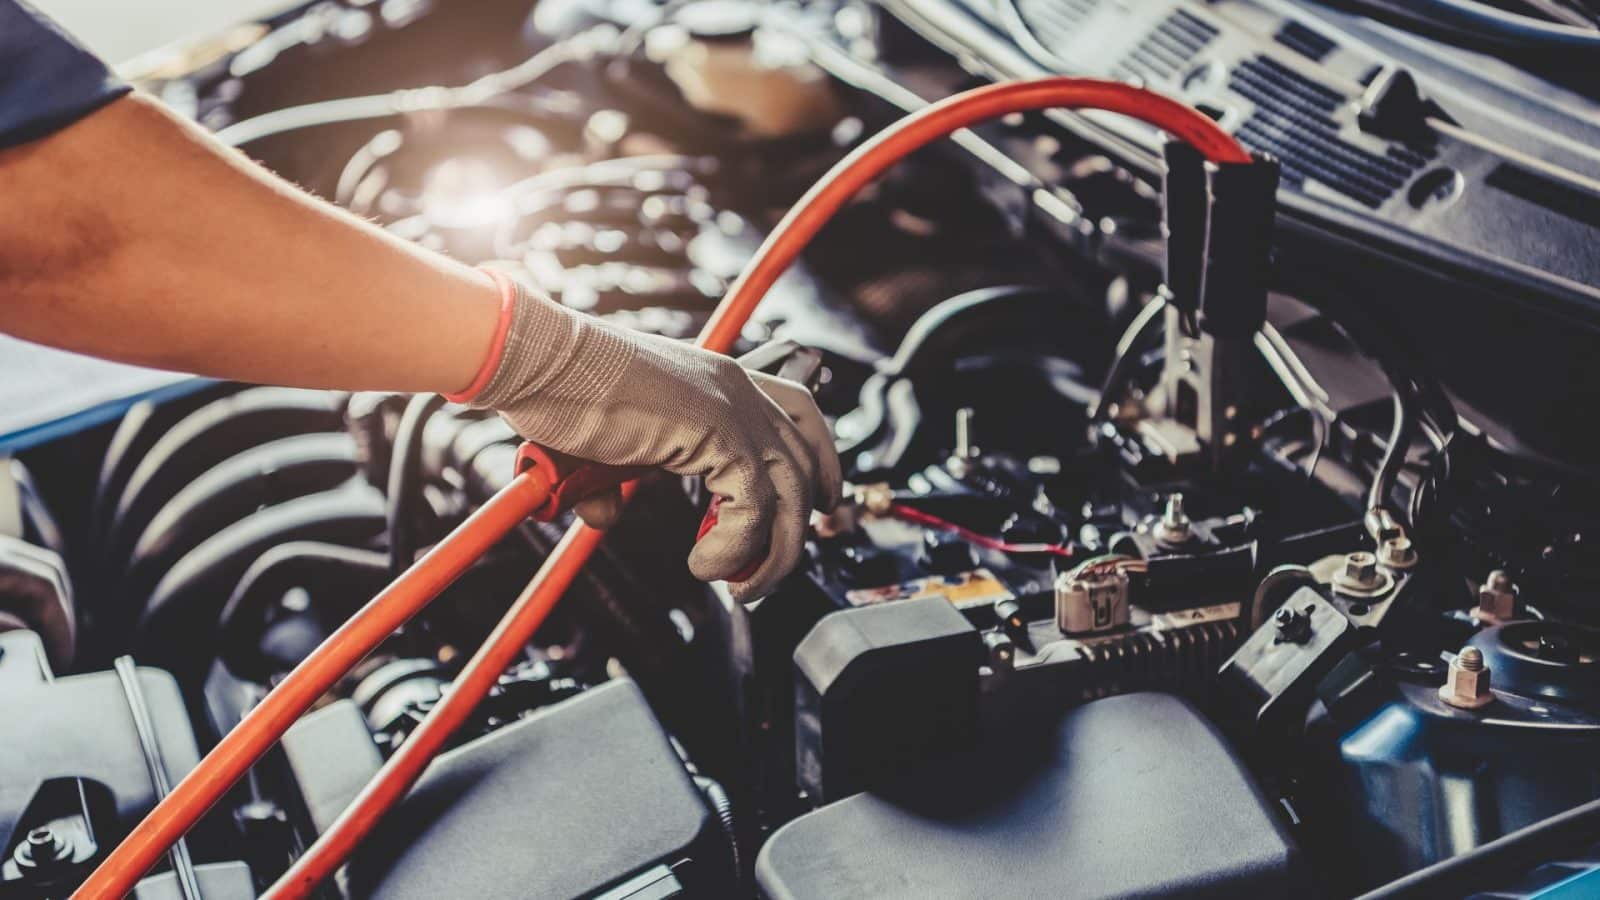
Tinkering with your car can be a rewarding experience. With more car owners attempting DIY fixes, electrical repairs have become a common area of interest. Whether dealing with a flickering dashboard light or a persistent wiring issue, the right tools can make these jobs manageable and safe. This guide will highlight essential tools for DIY car electrical repairs.
Multimeter
A multimeter is non-negotiable for diagnosing car electrical problems. It allows you to measure voltage, current, and resistance, making it key to troubleshooting issues like dead batteries, faulty wires, or malfunctioning alternators. Invest in a digital multimeter with automated range settings for accuracy and ease of use.
Wire Strippers and Crimpers
Dealing with faulty wiring often means cutting, stripping, and reconnecting wires. Wire strippers allow you to remove insulation without damaging the wire underneath, while crimpers help attach connectors securely for reliable connections. Start with these tools if you’re debating whether to call the mechanic or fix it yourself. They greatly reduce the risk of errors and save you labor costs for minor fixes. A combo tool that strips and crimps can be a handy all-in-one option.
Circuit Tester
A circuit tester is another must-have when you’re dealing with electrical diagnostics. This tool helps you locate blown fuses, identify open circuits, and test electrical components such as relays. You’ll quickly determine where the issue lies by touching its probe to various points in the circuit. Circuit testers are relatively affordable and can save you hours of frustration by pinpointing the problem area directly.
Electrical Tape and Connectors
For safety and durability, insulating wires and securing connections are crucial steps in any electrical repair. The electrical tape prevents short circuits and protects exposed wiring. Meanwhile, connectors, such as butt splices or quick disconnects, make assembling and reassembling wiring much easier. These small, inexpensive items are the backbone for many successful DIY electrical repairs.
Wiring Diagrams
Never underestimate the power of a good wiring diagram. Diagrams offer invaluable insight when you’re trying to locate a specific fuse or figure out how to wire a particular component. They are especially useful for complex repairs involving multiple components or systems. Many manufacturers provide these diagrams in their repair manuals. Having one on hand reduces guesswork and keeps you organized while solving the problem.
DIY car electrical repairs don’t have to feel intimidating when you have the right tools. Whether you’re replacing a faulty wire or diagnosing a dead circuit, these tools make the process more streamlined and effective. Start building your toolkit today and take on those repairs you’ve been putting off—with the right prep, you won’t have to think twice about handling most fixes yourself.
Recommended Reading: The Positive Impact of Electric Vehicles