
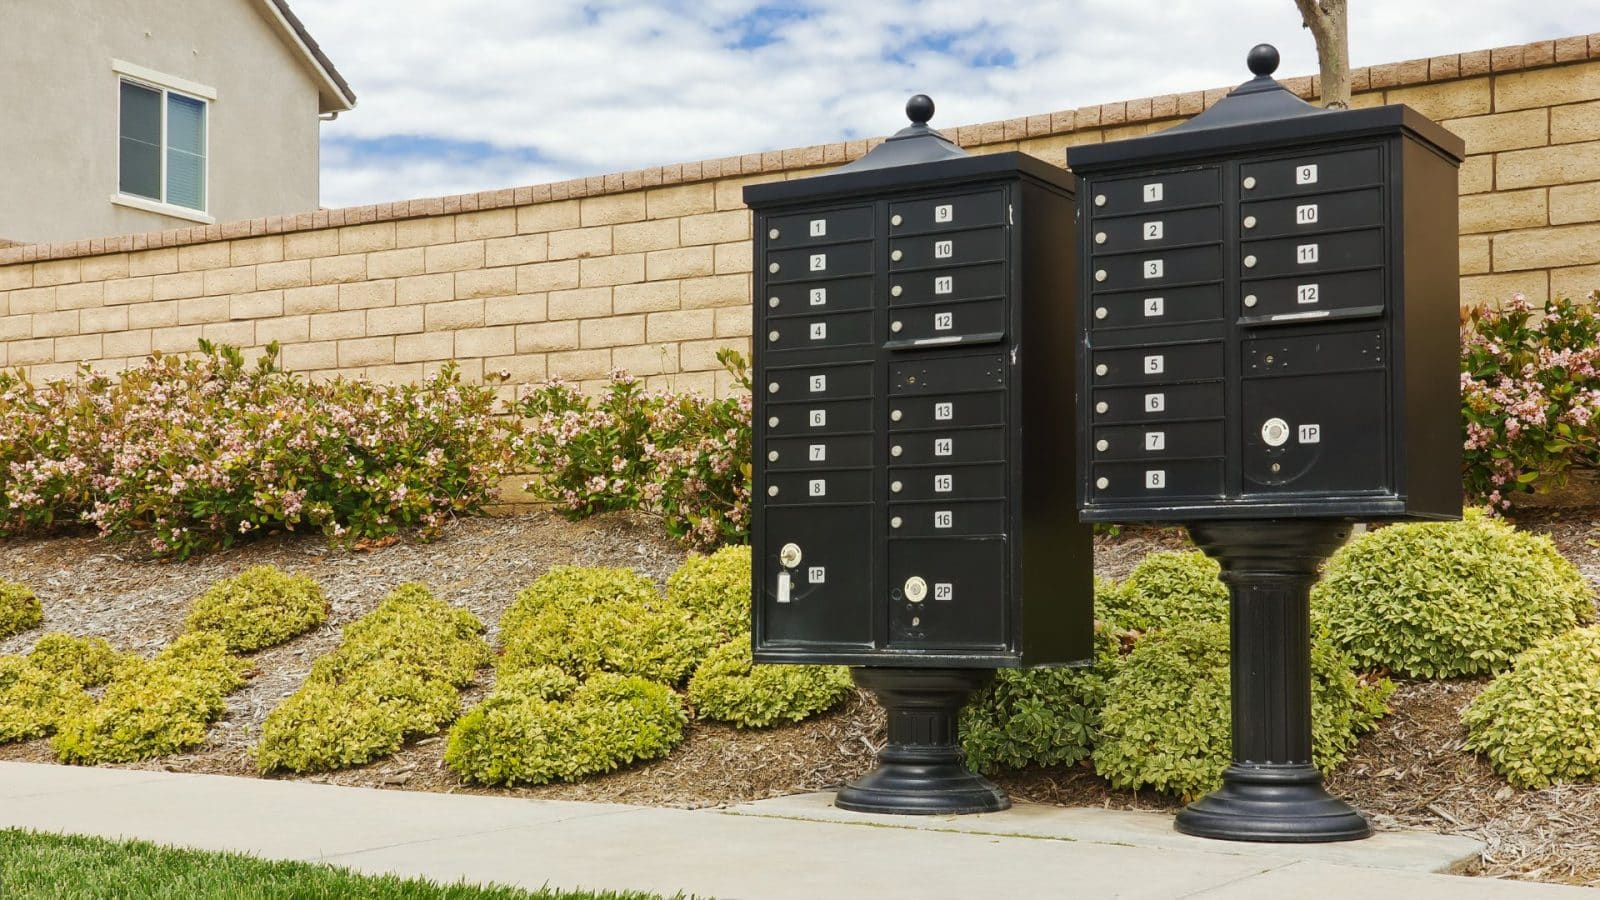
A fresh coat of paint on your apartment’s outdoor mailbox unit can instantly boost your property’s curb appeal. This simple project makes the common area more inviting for residents and demonstrates your attention to detail. Follow these tips when painting the apartment’s outdoor mailbox unit.
1. Gather Your Tools and Materials
Before you begin, collect all the necessary supplies. You will need sandpaper, a wire brush, cleaning rags, a degreaser or mild detergent, painter’s tape, a drop cloth, primer, and exterior-grade paint. Having everything in one place saves you from making multiple trips to the hardware store and streamlines the entire process. A good selection of tools makes the job easier and contributes to a better final result.
2. Prepare the Mailbox Surface
Proper preparation is the most critical step for a durable paint job. Start by using a wire brush to remove any loose rust or flaking paint. Next, sand the entire surface to create a smooth base for the primer. After sanding, thoroughly clean the mailbox with a degreaser or detergent to remove any dirt, grease, or grime. A clean, smooth surface helps the primer and paint stick correctly.
3. Apply Primer for Better Adhesion
Do not skip the priming step. Using a high-quality rust-inhibiting primer specifically made for metal surfaces helps form a durable connection between the metal and the paint. A good primer also prevents future rust from forming and provides an even base, which helps you achieve a uniform color with your topcoat. Apply one thin, even layer of primer and let it dry according to the manufacturer’s instructions.
4. Choose the Right Paint
Selecting the appropriate paint is vital to protect the mailbox from the elements. Look for a high-quality exterior-grade paint that is ideal for use on metal. These paints offer excellent durability and resistance to weathering, fading, and chipping. Many professional painters prefer an oil-based enamel for its hard, protective finish. Consider your local climate when picking your paint; for example, if you live in a coastal area, a paint with extra corrosion resistance is a wise choice.
5. Apply the Paint in Thin Coats
For a smooth, professional finish, apply the paint in multiple thin coats rather than one thick layer. A thick coat is more likely to drip, run, and take a long time to dry. Use a high-quality brush or a sprayer for the best coverage. Allow each coat to dry completely before applying the next one. This method helps you build up a strong, even color and a more resilient finish. Taking your time here pays off in the final appearance.
6. Let the Paint Dry Completely
Patience is key after you have applied the final coat. You must let the paint cure completely before putting the mailbox back into service. Curing time can vary depending on the paint type, temperature, and humidity; therefore, refer to the product’s label for specific recommendations. Rushing this step can lead to smudges, scratches, or peeling, forcing you to do touch-ups later. Allowing ample drying time is crucial for maintaining the outdoor mailbox unit properly for years to come.
7. Reassemble the Mailbox
Once the paint has completely cured, you can reassemble the mailbox. Carefully remove any painter’s tape you applied. If you removed any flags, numbers, or other hardware, reattach them securely. Take a moment to inspect your work and make any necessary touch-ups. With the project complete, your apartment complex will have a clean and attractive mailbox unit that enhances its overall look.
By following these straightforward steps, you can correctly paint your apartment’s mailbox unit. This small improvement can make a significant difference in your property’s appearance and demonstrate to residents that you are committed to maintaining a welcoming environment.
Recommended Reading: Tips for Improving the Curb Appeal of Your Home